
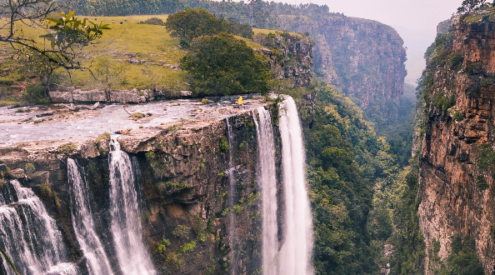


It’s not a new trend, but in my opinion photo stitching will change photography forever. It has to be one of the most powerful tools that the digital photographer has hidden away in the toolbox. Photoshop revolutionised the digital darkroom, and I truly believe that photo stitching will change landscape and travel photography forever. Why, you ask? I have found that since I have been travelling I am using photo stitching more and more to capture the sheer size and scale of some of the amazing sites we are visiting. It has never been possible, even with the widest angle lenses, to capture the full shot in one go. With photo stitching, you can capture the whole scene and stitch it together easily using dedicated software. I have been amazed at some of the results I have had over the past few months and I am looking forward to capturing more. To do photo stitching properly there are two key processes that need to happen. Here they are:
1. Image capture:
a. Images must overlap by 30% – this is so that the stitching software can map the images properly, otherwise it may not be able to join them together to form a seamless image.
b. Try to keep the same line all the way through – mark a high point or low point in your viewfinder and try to ensure that you don´t go up or down, but keep the same line throughout.
c. Use a tripod if you can – this will help with point B.
2. Image processing
a. You can use the photomerge function in Photoshop. Version CS3 onwards does a pretty good job. Versions before that can give some erratic results.
b. You can use a product like Autopano Giga 2 (this is my favourite), it really works well. Click here to see how to buy and download it.
Photostitching do’s and don’ts
a. Shoot on manual, take an average light meter reading across the scene and then shoot the images without varying the exposure.
b. Dont shoot on automatic white balance (AWB), this can give problematic results.
c. Keep the camera level and use a tripod if possible.
d. Overlap the shots by 30% or more if necessary.
e. Don´t use a polariser.
f. Avoid subjects in the foreground.
g. Don´t process the individual images in Photoshop beforehand, stitch first and then edit the stitched image in Photoshop.
h. Photograph the panorama in portrait mode too, not only landscape.
So give it a try, photo stitching can be plenty of fun and can change your images forever. Also, it is a digital tool that wasn´t available until digital photography arrived, so we are going to see some very unique images in times to come.