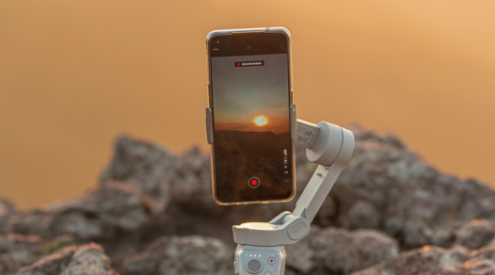


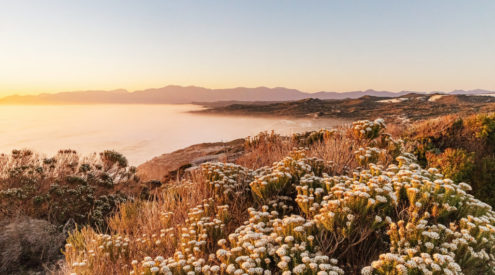
Human eyes are one of the marvels of the biological world, but to truly appreciate just how good they are at seeing details across a range of “˜exposure values’ all you need do is look at a photograph of a highly contrasted scene.
The range (referred to as dynamic range) of light you’re able to see properly with your eyes is way larger than that of your camera. Consequently, one of the great laments often heard from photographers is that their images aren’t exactly how they remember the scene. Luckily help is at hand.
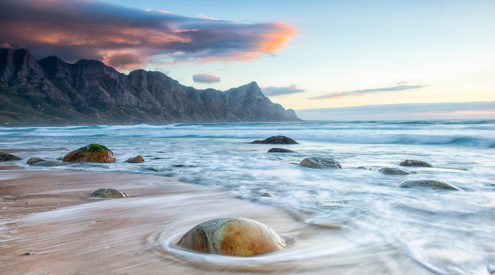
Cameras are restricted by the technical limitations of their lenses and sensors to a restricted dynamic range. As a photographer, you’re required to make decisions on your exposures in the images you’re trying to capture. Either you need to set an exposure value so the darkest areas of the image have details in them (usually resulting in the brightest areas being blown out) or you need to expose for the brightest areas and risk losing details in the darker areas which are recorded as pure black.
Enter High Dynamic Range (HDR) photography. Essentially, this allows you to merge multiple photographs with different exposures of the same scene in your digital darkroom, increasing the dynamic range in your final image. In other words it’s a composite.
A number of software programs are available to help with HDR processing. Adobe Photoshop and Photoshop Elements (the cheaper version) have the ability to merge to HDR built in.
If you’re serious, consider buying the software package Photomatix which is specifically designed for HDR photography. This streamlines the process and produces wonderful results.
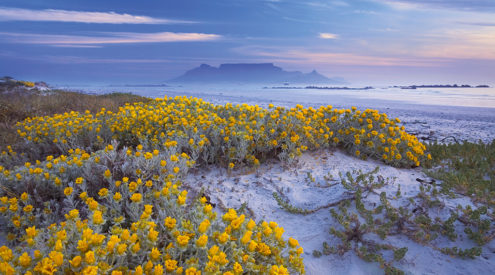
Is HDR cheating? I suppose purists would say yes but, depending on the final results, I have developed a love of HDR photography (so much so that we were comfortable to run an HDR-style image on our September cover). That said, be careful with your processing: badly or overdone HDR can be gaudy and unrealistic and ruin what could have been a great shot as a single exposure. As with all things in the digital darkroom, subtlety is best so use the technique only to enrich your final images.
Tips:
- Do one of the many free online tutorials (see below).
- Learn to see HDR potential in the scenes you photograph.
- Use a tripod to ensure your images are perfect matches.
- Bracket your exposures – at least four exposures works best.
- Remember you can expand the dynamic range of a single RAW image by processing it to create three or four different images at different exposures, which can then be merged as an HDR image.
- Learn how to set up your camera’s auto bracketing.
- Experiment.
Further research
- www.stuckincustoms.com
- www.hdrsoft.com
- en.wikipedia.org/wiki/High_dynamic_range_imaging
- www.cambridgeincolour.com
- www.flickr.com/groups/hdr