


There’s a ridiculous notion among South Africans that women cannot braai. This is simply not true. On average, and I must be very clear that I’m generalising here, women in South Africa are slightly more experienced in cooking than men. Hence, logic dictates that they will also be better at it. Which leads me to the question, why don’t women braai more often?
I think the answer is simply that many of them don’t know how to make a fire. That is the stumbling block. Because, let’s be frank, once that fire has burned out and you have a bed of red-hot coals, it’s simply a source of heat on which to prepare your food, similar in operation to a stove, but resulting in meals with more flavour. (Make no mistake, there are some atrocious male braaiers out there, but their failure usually stems from the habit of completely overcooking, drying out and/or burning the meat.)
How to light a fire 101
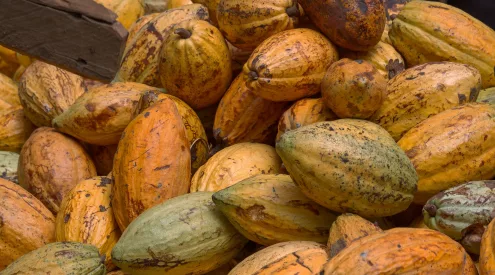
Most importantly, you need enough dry wood. My favourite wood types are rooikrans, wingerdstompies (pieces of vine wood), black wattle, sekelbos and mopani. I don’t believe it’s worth the money or effort to buy wood trucked in from another part of the country or continent; braai with the cheapest local stuff.
Wet wood refers to wood that was recently cut and is essentially still green on the inside. This is a bad thing. Condensation on the inside of the plastic bag containing the wood is a sign it’s still wet. The best is to buy wood by the bakkie load and age it in your garden until it’s dry.
The next step in making a good braai fire is to build it properly. Pack two pieces of wood parallel to each other, with a gap about the width of the wood between them. Place blocks of firelighters such as Blitz in this gap. At first, use as many pieces as you can fit in – the more you use, the easier and quicker the wood will burn – then as you become a more experienced maker of fires you’ll use fewer firelighters.
Now pack another two pieces of wood on top of the first two, at a 90-degree angle and with a gap between them the same size as before. Continue until you have at least 12 pieces of wood (not 12 levels – that would be impressive and require engineering knowledge) or all your wood is finished. Use all the split pieces first, as these will catch fire easiest, and use the rounder, bark-covered pieces at the top. Your tower of wood should now resemble a game of Jenga. If the tower is too high and looks set to fall over, pack any remaining wood upright around it.
Light the firelighters; if you followed all of the above steps your fire should burn. If the wood hasn’t lit once all the firelighters have burned out, it’s probably very wet. Slide more pieces of firelighters into the gap at the base of the tower and set alight.
Once the fire is burning, don’t fiddle with it. Only when the tower collapses should you use braai tongs to move any wayward pieces of wood back onto the heap of burning coals. Wait for the fire to burn out completely and all wood to turn into coals. This usually takes between 40 minutes and an hour if the fire was made with normal dry braai wood.
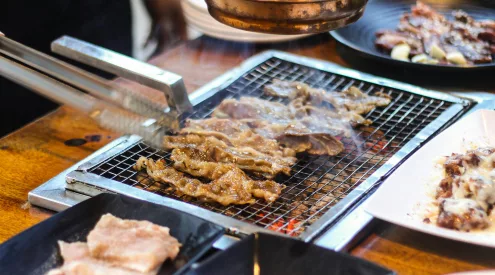
Spread the coals into an even layer using tongs and suspend your braai grid over this (use a tripod or place a brick under each corner of the grid).
Now, imagine you’re using a hot griddle pan on your stove and do exactly what you’d have done there. Easy as braai. Finally, send your husband, boyfriend or son to fetch you a drink and prepare the salad.