


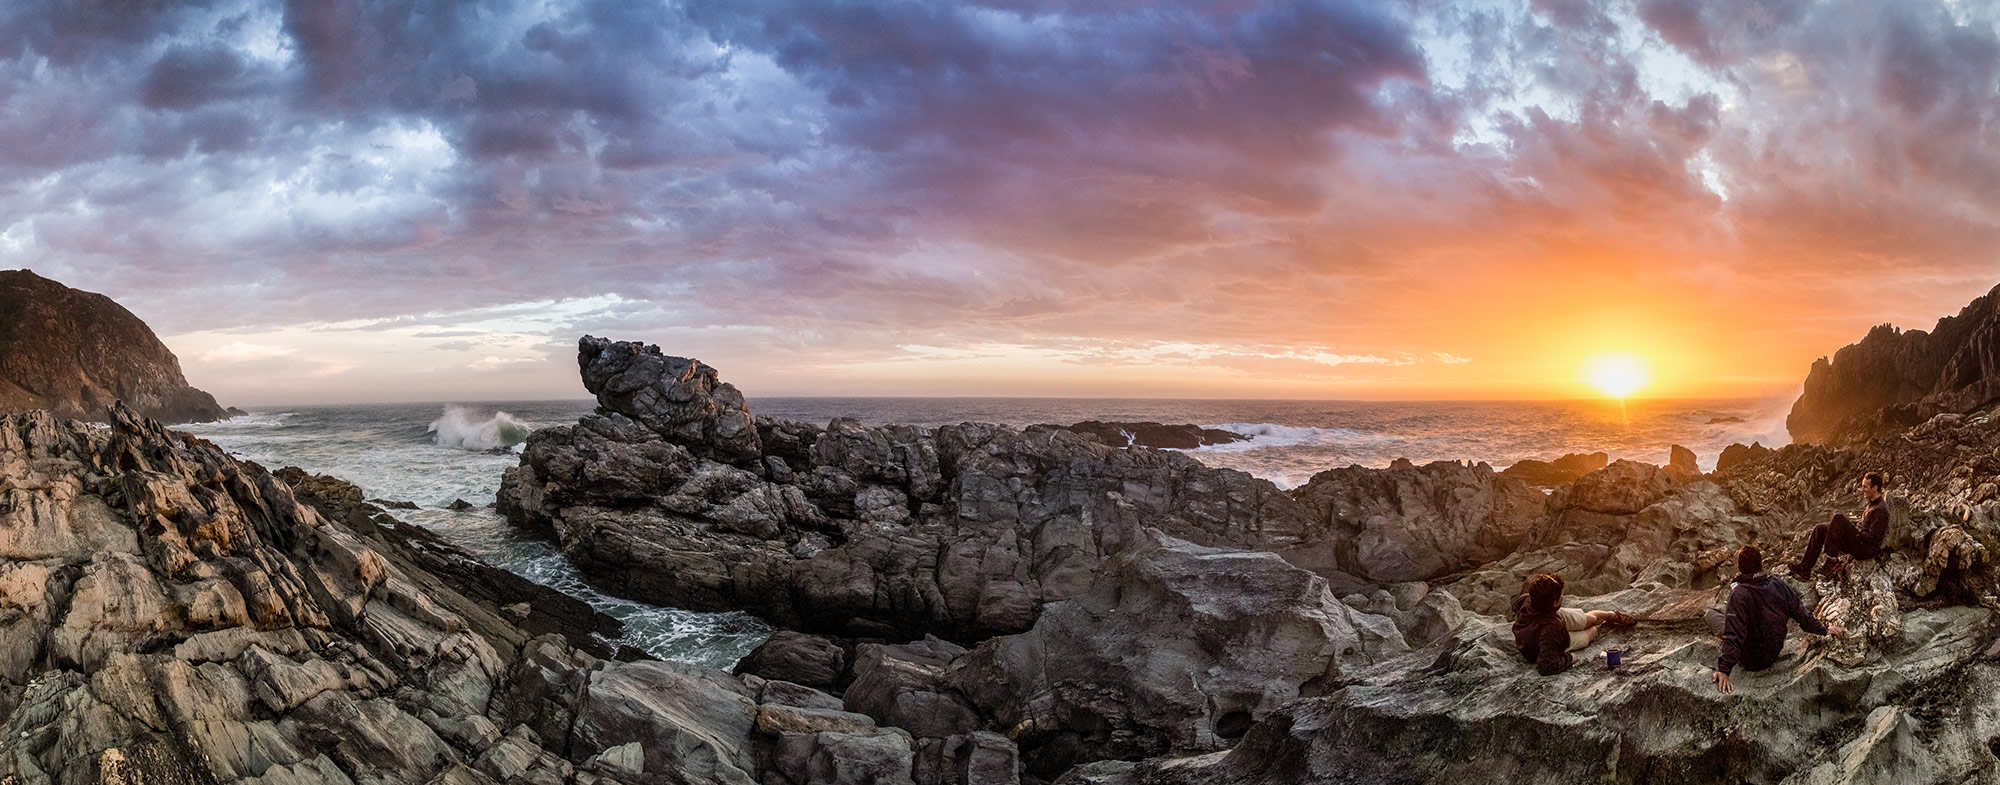
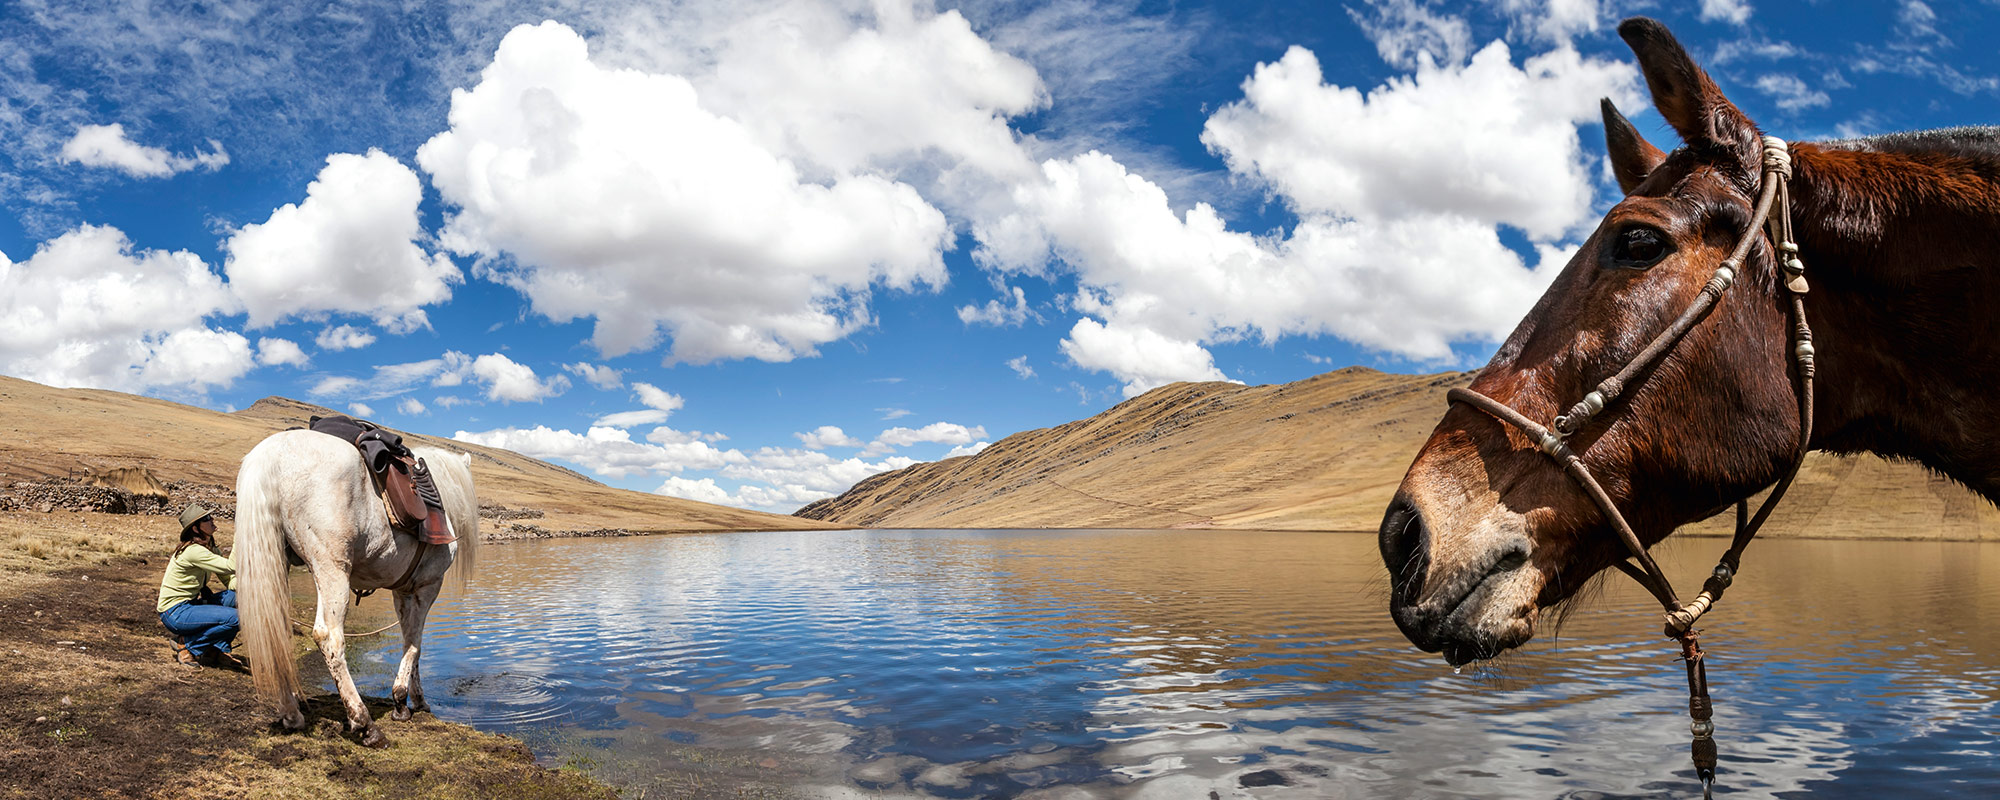
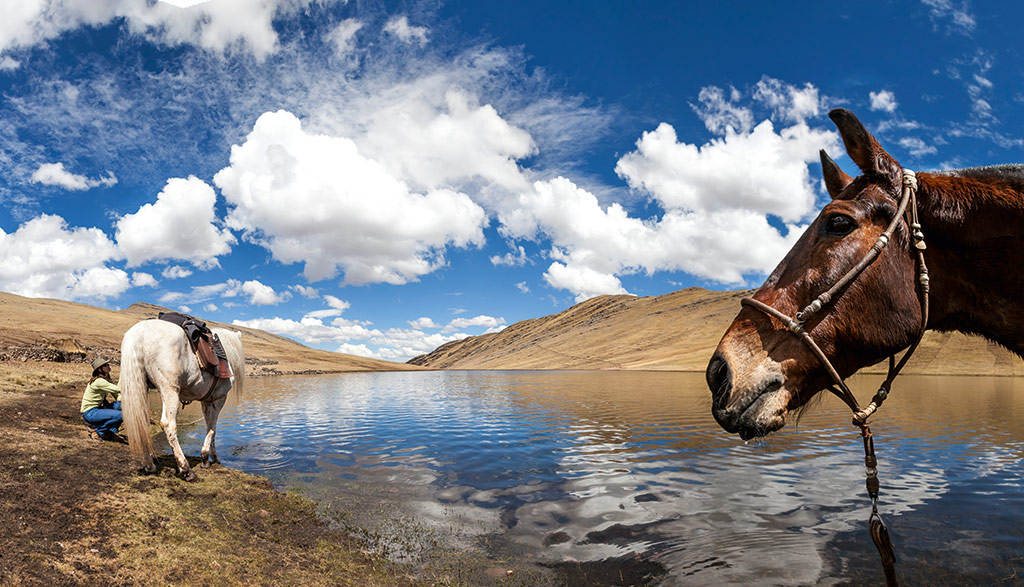
Panorama photos can capture the full beauty of a scene, but there are a few tricks to getting them right. Teagan Cunniffe give us five tips on how to take a great panorama.

Photo by Teagan Cunniffe.
1. The basics
A panorama is a series of photos stitched together horizontally, vertically or even spherically. Many compact cameras and smartphones have built-in panorama software, while most DSLR users will need to use post-production software such as Photoshop. Attach your camera to a tripod on a level surface and use a focal length longer than 24mm (a wide angle will cause distortion). Remove any coloured filters from your lens and use a shutter release cable to limit camera shake.
2. Find your scene
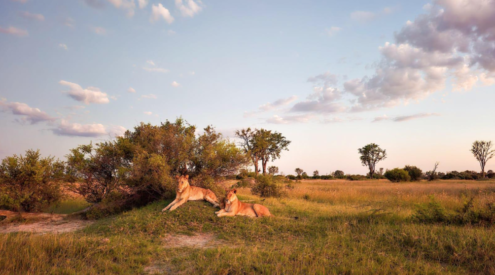
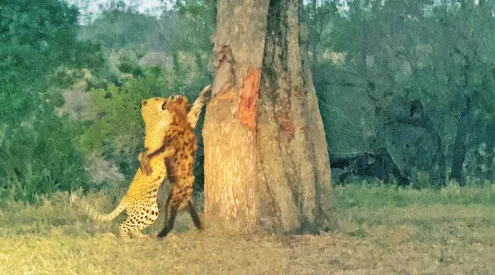
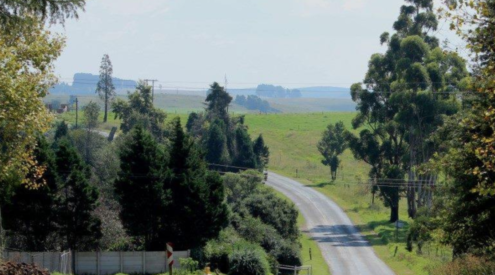
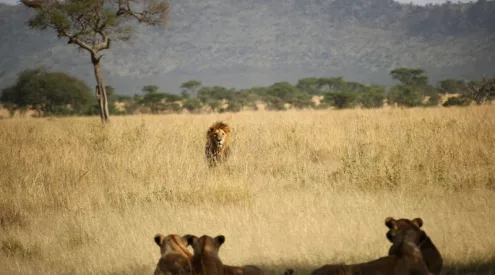
Look out for a single subject in the foreground such as a tree or an animal. This will give your panorama greater depth and a sense of story. Shooting from ground level will make your scene look flat and two-dimensional. Rather, try to find a high vantage point so you can capture foreground detail and make your pano more interesting. Scenes with movement, such as leaves on trees blowing in the wind or moving water, don’t stitch together very well and are best avoided.
3. Get the right settings
If your compact camera or smartphone has a panorama mode, switch it on and follow the prompts. If it doesn’t or you are using a DSLR, set it to Manual Mode. It’s important to keep your exposure constant. Use a narrow aperture (between f/8 and f/16) to capture foreground and background detail. Next, set your exposure to a few stops darker than usual so details in the highlights of your image, such as bright white clouds, are not lost. Shoot in RAW mode to recover the shadow details later.
4. Taking the panorama
Set your focus to Manual and focus on a subject midway into your scene. Take your first image, then overlap into the next image by one third (remember where your first frame ended and use that as the starting point for your next image) to ensure accurate stitching later on. Keep the horizon line level (parallel to the top of your viewfinder) as you pan from one side to the other to limit jagged contours in the final panoramic image.
5. Stitching
If you’re using a DSLR or a compact camera without a built-in panorama function, you will need to use Photoshop, Photoshop Elements, or free online software to stitch your images together. In Photoshop, select File -> Automate -> Photomerge and then select the images you wish to stitch. Once your pano is stitched (it may take a few minutes), flatten the layers (cmd/ctrl + E) and use the transform tool (cmd/ctrl + T) with the Warp option to get rid of bowed horizon lines.
Level up: learn how to avoid parallax error when taking panoramas