A bright blue Mini Countryman with racing stripes was Lisa Johnston‘s and my vehicle for 4600 kms across three countries in Southern Africa and around Lake Malawi. If you haven’t read my blogs about the journey yet, here is the summary: it was awesome. The mini was actually the perfect car for the trip – it was fuel-efficient, easy to drive, speedy when it needed to be (like when we had to overtake massive trucks in Zim) and had magical four-wheel drive that kicked in when the car sensed sandy spots. I don’t think many Minis come zipping through Malawi, and so we got a lot of attention for our car. I reckon it may have saved us some potential bribing situations. Cops took one look at our car and decided we were too cool to extract a bribe from.
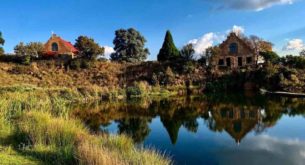
It was our first time in Malawi and we loved it. Malawians are (deservedly) famously friendly, the country is beautiful and the lake is magnificent. We found Malawi very easy to travel around – it’s safe, the roads are good and people are helpful. I would encourage people to drive to Malawi from South Africa instead of flying. You see so much more on a road trip and having your own car makes it much easier to get around rather than relying on public transport. It also means that you can buy more amazing carvings and masks to take home.
Here are my tips for a road trip to Malawi. Please comment below if you have any questions about travelling to Malawi – I’m happy to give advice!
How to do Malawi in a Mini (or anything other sedan)
1. Getting there
Aim on taking three days to drive up to Lake Malawi from Joburg (although it is possible in two gruelling days). The best route is via Harare (in Zimbabwe) and Tete (in Mozambique). The roads are generally in good condition all the way up, although there are a lot of potholes to watch out for from Tete to the Malawian border. Roads in Malawi, even the smaller ones, are generally in great condition, although you will hit some dirt roads on the way to some lakeside spots (like Cape Maclear). You can easily get to Malawi in a sedan but take care with sandy bits you may encounter when you turn off the main road to your backpackers (such as Kande Beach Resort) that you don’t get stuck. There aren’t many of these stretches though.
2. Borders
Zimbabwe: The first border you’ll cross is Beitbridge, from South Africa into Zimbabwe. This is the worst border of the trip: it’s a bit chaotic, queues can be long and the officials are pretty unhelpful. If anyone comes up to help you through the confusing process of getting through the border, they are an agent and they will demand money afterwards for their services. Basically, what you need to do at this border is get your passport stamped (you don’t need a visa as a South African), pay carbon tax, get a temporary import permit (TIP) and get cleared by customs.
Mozambique: When we travelled through Mozambique, you needed to have a reflective vest and triangle in your backseat to show the cops. The regulations for what you need in (and on) your car changes all the time though – check before you travel. The border crossing into Mozambique from Zimbabwe at Cuchamano was relatively quick and easy. You have to buy third-party insurance, and a TIP (temporary import permit), and get your passport stamped (you don’t need a visa if you’re South African).
Malawi: It’s a bit confusing crossing from Mozambique into Malawi. You check out of Mozambique and then go through the gate, only to find no immigration building for Malawi on the other side. Immigration is actually 7kms away from the border gate – so don’t worry, you’re not entering the country illegally when you continue driving without a passport stamp. We found the Malawian immigration process quite confusing, and so we enlisted the help of a friendly agent who helped us through the process. It’s basically the same routine as the other borders – passport stamps, TIP and third-party insurance – but you fill out a form at one counter, go into another building to pay, then go back to the original counter, then go to another counter to get something stamped…. all without any clear instructions on what to do. It wasn’t at all busy when we went, and everyone working there seemed pretty chilled so all in all it’s not a stressful border and you could definitely do it on your own, without an agent.
3. Safety
We felt totally safe as two women driving almost 5000 kms through Africa. A lot of people were nervous about us taking this trip in case anything went wrong (like a burst tyre in the middle of nowhere) but I feel pretty confident that we would have been absolutely fine. People are so friendly in Zim and Malawi that we would have found help anywhere (not so sure about Mozambique – the language barrier is a bit of an issue, but we would have somehow made a plan).
4. Money
Take US dollars in small denominations with you for the Zim and Mozam legs of the trip. They’ll accept Rands in most places in those countries, but they often give you a bad exchange rate. Businesses in Malawi are no longer allowed to accept foreign currency, so change money at the border (check what the official exchange rate is before you go so you don’t get ripped off) – you’ll need Malawian kwacha to pay the fees at the border – and draw money from ATMs in Malawi. Not every village has an ATM, so draw when you can. We used Standard Bank ATMs in Malawi and had no problem drawing money. The maximum amount you can withdraw at one time is K20 000.
5. Food
This is the most important aspect of a road trip for me (a foodie). However, I know from experience that road tripping in Africa is not exactly a gourmet paradise. The key thing with a drive up to Malawi is packing your own padkos, counting on not being able to get anything to eat while you’re on the road. Great padkos-packing is all about longevity. We took enough padkos to last the whole trip of 14 days. Healthy things to take are: dry crackers (I like Provitas and Woolies rice crackers), peanut butter, dried fruit and nuts, breakfast/energy bars and long-lasting fruit, like naartjies or apples.
6. Planning ahead
We organised all our accommodation for Malawi ahead of time, because we thought that with the Lake of Stars festival, a lot of places would get booked up. If you’re not going to Malawi around the festival then I wouldn’t say that you need to book ahead, unless you’re staying somewhere over the weekend. We chose our accommodation based on recommendations from friends and Getaway journos who’d been to Malawi, TripAdvisor reviews and general internet searching.
7. Health
Malawi is a malaria area, so check with your doctor about taking prophylactics before you go. As with any malaria area, take all the precautions against getting bitten (Tabbard, long sleeves and pants at night etc). Check with a travel clinic about what vaccinations you should have for Malawi – they usually recommend Hepatits A and B, and typhoid. A lot of people get bilharzia from swimming in the lake – check with your doctor when you get back if you have any of the symptoms. Avoid swimming in areas with reeds.
Malawi in a Mini: the blogs
For part one of Malawi in a Mini (Joburg to Lake Malawi) click here
For part two of our Malawi in a Mini trip (Road tripping around Lake Malawi) click here
For part three of Malawi in a Mini (Island hopping on Domwe and Mumbo) click here
For part four of Malawi in a Mini (the Lake of Stars festival) click here
For part five of Malawi in a Mini (Heading home) click here
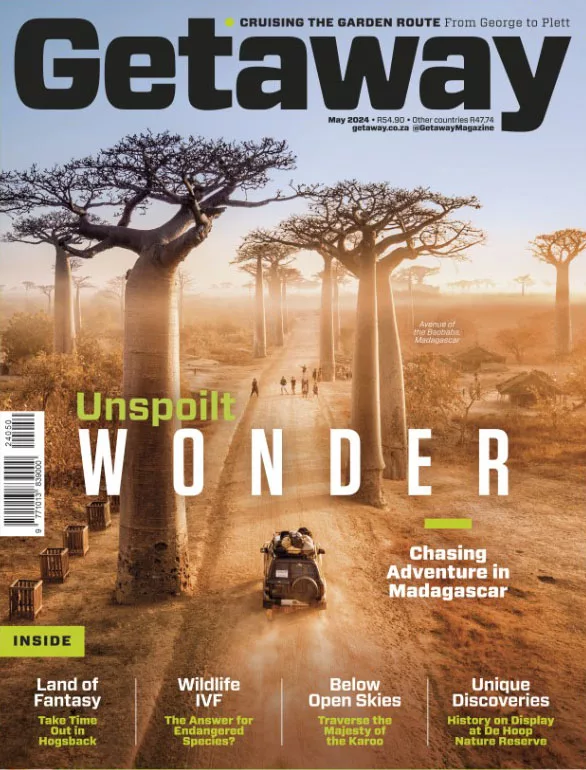
Lisa’s article about our trip will be featured in the February issue of Getaway Magazine.