

Few things can ruin an otherwise brilliant hike faster than a blister. It often starts as a tiny hot spot that seems harmless enough, only to become a painful reminder with every step. Whether you’re tackling a quick morning trail or spending days in the mountains, looking after your feet should be just as important as packing enough water.
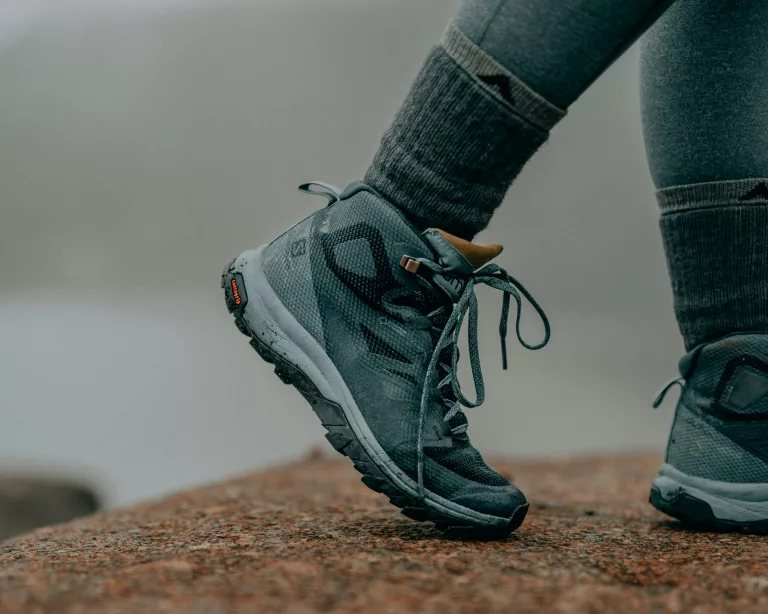
Photo: Unsplash
While good boots certainly help, there are plenty of lesser-known tricks that seasoned hikers swear by.
Why do hiking blisters happen?
Blisters form when friction repeatedly rubs against your skin. Add heat, moisture and pressure into the mix, and the outer layers of skin begin separating, filling with fluid to protect the tissue underneath.
Common causes include:
- Boots that don’t fit properly
- New or stiff hiking shoes
- Wet or sweaty feet
- Wrinkled socks
- Sand or grit inside your footwear
- Walking for long periods without breaks
Start with the right hiking boots
The biggest mistake many hikers make is wearing brand-new boots on a long hike. Even premium hiking boots need time to mould to your feet.
A few ways to avoid problems:
- Break boots in on shorter walks first.
- Your toes should have enough room to move without sliding forwards.
- Your heel should stay firmly in place without lifting.
- Shop for hiking boots later in the day, when your feet are naturally slightly swollen. This gives you a more realistic fit for hiking conditions.
Your socks matter more than you think
Cotton socks absorb sweat and stay damp, creating the perfect environment for blisters.
Instead, choose hiking socks made from:
- Merino wool
- Synthetic moisture-wicking fibres
- Double-layer hiking socks, which reduce friction by allowing the sock layers to move against each other instead of against your skin.
The “inside-out” sock trick
Some hikers wear their socks inside out. It sounds odd, but if the seams inside your socks rub against your toes, turning them inside out places the flatter surface against your skin, reducing irritation.
Stop hot spots before they become blisters
A hot spot is the warning sign that a blister is about to develop.
The moment you notice burning or rubbing:
- Stop walking.
- Remove your shoe.
- Dry your foot.
- Apply blister tape or a protective dressing before continuing.
Waiting “just another kilometre” almost always makes things worse.
The Vaseline trick
One of the oldest hiking hacks still works remarkably well.
Apply a thin layer of petroleum jelly (such as Vaseline) to common blister areas before putting on your socks. It reduces friction on areas like:
- Heels
- Toes
- Sides of the feet
- Under the ball of the foot
The key is using only a light layer. Too much can leave your feet feeling greasy.
Try an anti-perspirant
Here’s a tip many new hikers don’t know. If your feet sweat heavily, applying a fragrance-free anti-perspirant to your feet the night before a hike (and again in the morning if needed) may help reduce moisture. Less sweat often means less friction.
Avoid trying this for the first time on a major hike in case it irritates your skin.
Tape your feet before they hurt
Many experienced hikers don’t wait for pain. If you know you always blister in the same spot, cover those areas with kinesiology tape, sports tape or specialised blister tape before setting off. Preventing friction is much easier than treating the damage later.
Lace your boots properly
Sometimes the problem isn’t the boot; it’s the way it’s laced.
Different lacing techniques can:
- Prevent heel lift
- Reduce pressure on the top of the foot
- Create extra room around sore spots
A simple heel-lock lacing method can dramatically reduce rubbing at the back of the foot.
Dust your feet
While some hikers prefer petroleum jelly, others use foot powder to keep their feet dry. Both methods aim to reduce friction, but they work differently. If you have particularly sweaty feet, a moisture-absorbing foot powder may work better than lubrication.
Give your feet air
Whenever you stop for lunch or a scenic break:
- Remove your boots.
- Take off your socks if conditions allow.
- Let your feet cool and dry for a few minutes.
It also gives you a chance to remove any tiny stones or sand before they cause problems.
Keep your toenails short
Long toenails can repeatedly hit the front of your boot during downhill sections, leading to bruising, pressure and additional rubbing around your toes. Trim them a day or two before your hike rather than immediately beforehand.
Pack a small blister kit
Even with the best preparation, blisters can still happen. A compact foot-care kit doesn’t take much space and could save your hike. Consider packing:
- Blister plasters
- Sports or blister tape
- Small scissors
- Alcohol wipes
- Sterile needle (only for emergencies and only if you know how to safely care for a blister)
- Petroleum jelly
Top tip: Before committing to a big adventure, wear your full hiking kit (including boots, socks and backpack) on a few neighbourhood walks. It’s one of the easiest ways to spot pressure points before you’re halfway up a mountain.
ALSO SEE: Scenic hikes under 10km in Mpumalanga